5. Essential Two (Copy)
Our first essential skill, finding a clean background, focused on cleaning up what’s in the frame. Our second skill has the same end goal - but uses a different approach.
1. Fill the frame.
Sometimes the best way to make our subject the main focus is to take a step closer and let them fill most of, if not the entire frame.
Behind this girl was a lot of ‘stuff’ - toys, balcony furniture, mats etc. Filling the left edge of the frame with the subject, eliminated these distractions, and lets the viewer focus primarily on the girl and her view as she peeks over the balcony edge.
When filling the frame, we still have to pay careful attention to the edges, so there’s nothing distracting in the periphery.
An extremely common mistake…
Question: What’s the most common mistake new photographers make?
Answer: Shooting from too far away.
And I often do it too - it’s so easy to do!
In my ideal world, I’d take a breath to remind myself to scan the edges of the frame and make adjustments as needed - before taking the photo. In reality I often get swept up with how lovely a moment is - take a photo, and then realise I need to change the composition, and more often than not this means taking a step closer.
Here’s an example. The photo you see below is the initial shot, which includes stuff lying on the table in the background. The second image is made after moving closer to fill the frame, removing the distractions in the background. It took only a second to change the composition and yet makes a huge difference.
Slide right to see the better image achieved by moving in closer to fill the frame.


Getting the image right in camera is probably something I’ll work on as long as I take photos. And we know why it’s difficult. Our selective attention automatically filters out any distractions, which makes the scene appear more dramatic in the moment than it does in an image.
I constantly have to remind myself to think about getting close and looking at the edges. It’s not easy - but being aware of it is the first step.
A mantra of sorts:
“Step in to fill the frame but watch those corners”.
Below is probably my favourite photo to date using the essential skill of ‘filling the frame’. You can slide right to see one of the 10 photos that preceded it, as I continued to work my way closer. Getting in closer also created a clean background by removing the white floor from the front of the image.


Examples
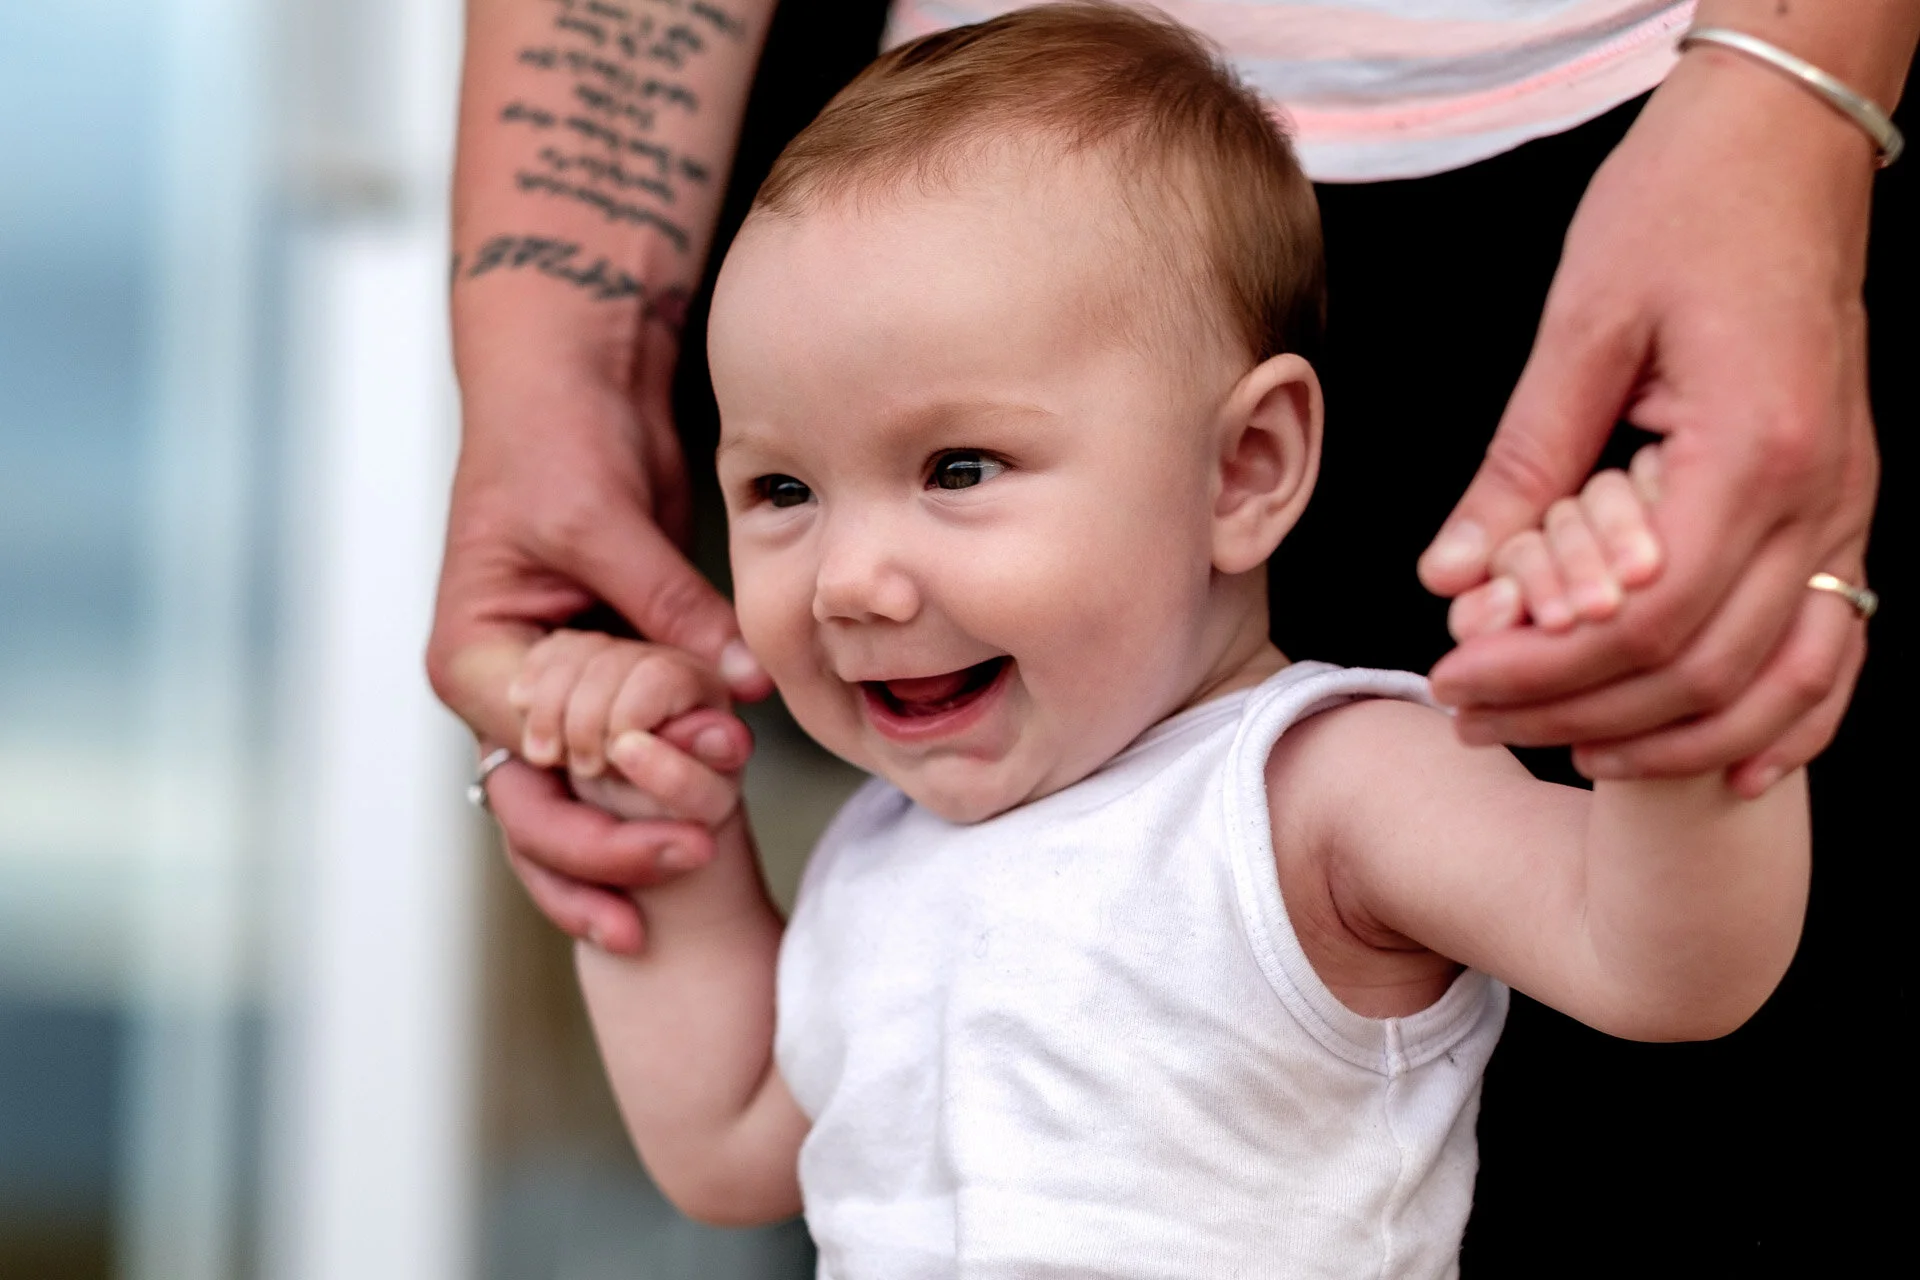
Scroll through for examples of photos that try to fill the frame with the subject.


2. Portrait vs Landscape
In the first lesson we learned that our eye often prefers to see images in landscape orientation (sideways), as it’s a closer representation to how our eyes see the world.
In the third lesson, there was a two minute video echoing this point, and encouraging you to try landscape images for the practice activity.
So, now to talk about portrait mode - it’s name eluding to the benefits!
Portrait mode is often good for…portraits! The natural shape of the human body better fits this framing, so it makes it easier to step in closer and fill the frame.
I still prefer shooting horizontally (in landscape orientation) whenever possible, but there is definitely a time and place for flipping the camera 90 degrees. Just remember, we have a bias to shoot in portrait orientation, because it’s how we usually hold our phones. What’s important is that we choose the direction of the camera to best suit the scene, rather than it being a reflexive decision.
3. A word about cropping
Editing skills aren’t a focus of our course, but I wanted to make a few comments on cropping as it’s such a helpful tool.
Even though our goal is to get the image right in camera, the reality is that I still crop a lot of my images! More often than not I crop only a sliver at the edge of the frame, or straighten the image slightly - but this still makes all the difference.
These examples below show how a slight crop can have a hugely positive effect on an image. Observe how removing the smallest distraction, or rotating the photo only fractionally (to straighten up the horizon line), changes the image.
Slide right to see the before and after images.


4. Three final points about cropping
Cropping isn’t a quick-fix, but rather a last-resort.
1. Getting Closer
Relying on cropping is not an alternative to getting closer to the subject.
Moving to a better position not only helps us improve our photography skills, but the final result is always better than relying on cropping an image taken from further away.
2. Taking time to try new angles
Taking a few extra seconds to look objectively at the scene and photographing it from the best angle possible is the goal. The way to reach this goal is often to take an initial shot, and then work from this to continually improve it.
Remember the activity in Lesson 3, where we took 10 different photos from the same scene? This is a skill that improves our images a lot more than cropping ever could.
3. Ability to Print
Be aware that cropping images also crops out data which lowers the resolution of the photo. This limits the maximum size we can print.
Maybe if the goal is just to share the images online, it’s okay, but if the goal is to one day make an album of the images, the more data you have the better.
If your pictures aren’t good enough, you’re not close enough.
ROBERT CAPA
My favourite of the three essential skills is next!
Estimated time required: 15mins.


